Taking a Look at Meshtastic: My First Setup
I’ve recently started exploring Meshtastic, and like most good projects, it began with buying a few bits of hardware to see what it could really do in practice.
For my first setup, I picked up a twin pack of the Wio Tracker L1, along with a SenseCAP tracker. The idea was simple: build a small, off-grid communication and monitoring system that I could expand later. I have all the products i have used on my Amazon page
What is Meshtastic?
An open source, off-grid, decentralized mesh network built to run on affordable, low-power devices. No cell towers. No internet. Just pure peer-to-peer connectivity.
https://meshtastic.org
If you haven’t come across it before, Meshtastic is an open-source, decentralised mesh network that runs on low-power devices using LoRa radio.
In plain terms:
- No mobile signal required
- No internet needed
- Devices talk directly to each other
It’s ideal for off-grid communication, events, outdoor use, or just experimenting with something a bit different.
You can learn more at: https://meshtastic.org
My Hardware Setup
Wio Tracker L1
I bought the Wio Tracker as a twin pack, planning to use one as a client base node.
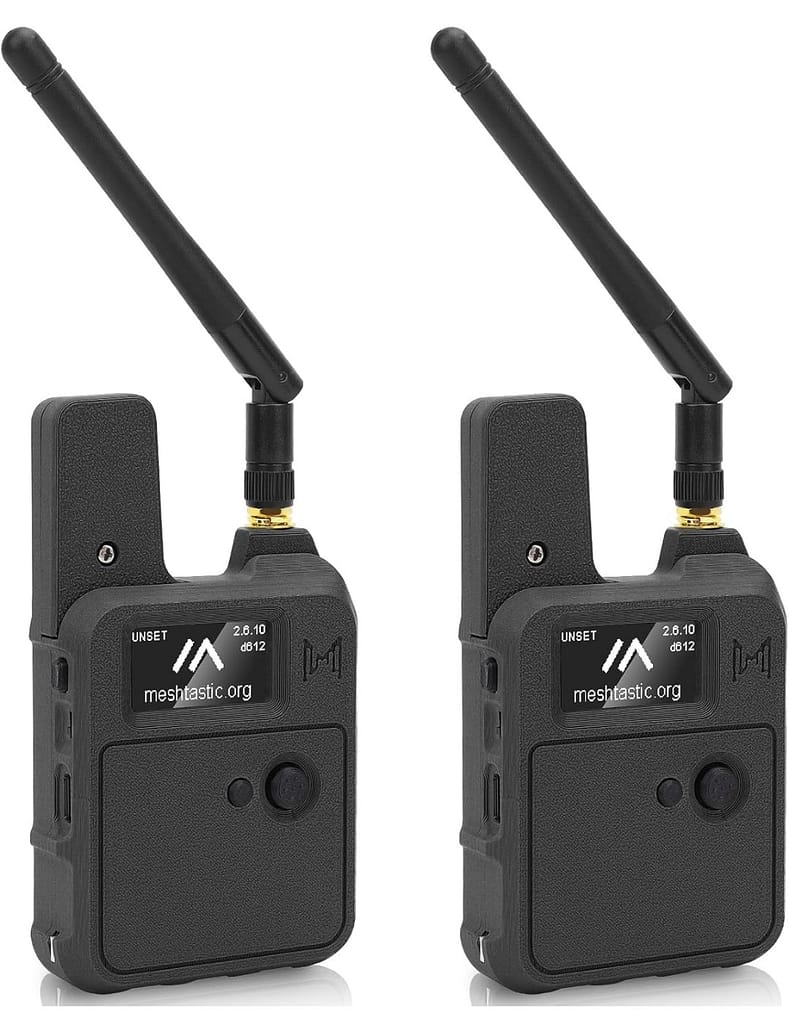
Wio Tracker L1
This is a nice unit, you do need to put it together yourself. It’s not too hard, just a little fiddly. Comes with build in GPS
From Amazon
My plan is to house it in an enclosure along with:
- A temperature sensor
- A current and voltage sensor
This will allow me to monitor environmental conditions and battery performance, with that data shared across the mesh network.
SenseCAP Tracker
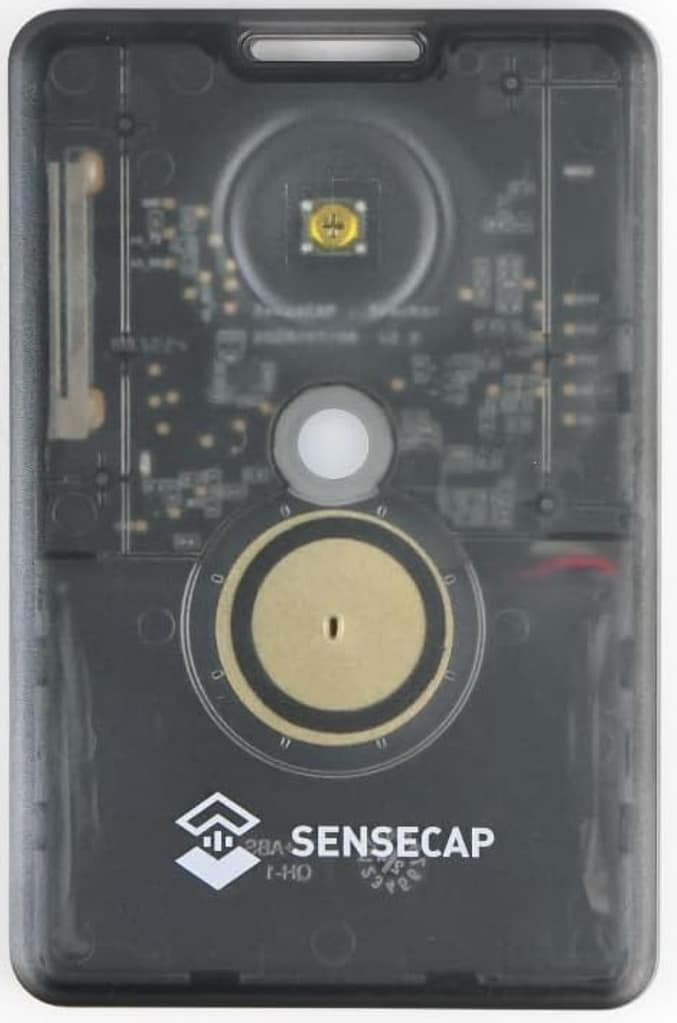
The SenseCAP is a really impressive bit of kit. It’s about the size of a credit card and includes:
- Built-in GPS
- Temperature sensor
- Messaging via the Meshtastic app
I picked one up with a strap and plan to add more for team use. The goal is to have multiple people carrying these devices for:
- Real-time location tracking
- Private messaging across the mesh
Additional Sensors
To expand the functionality, I also picked up:
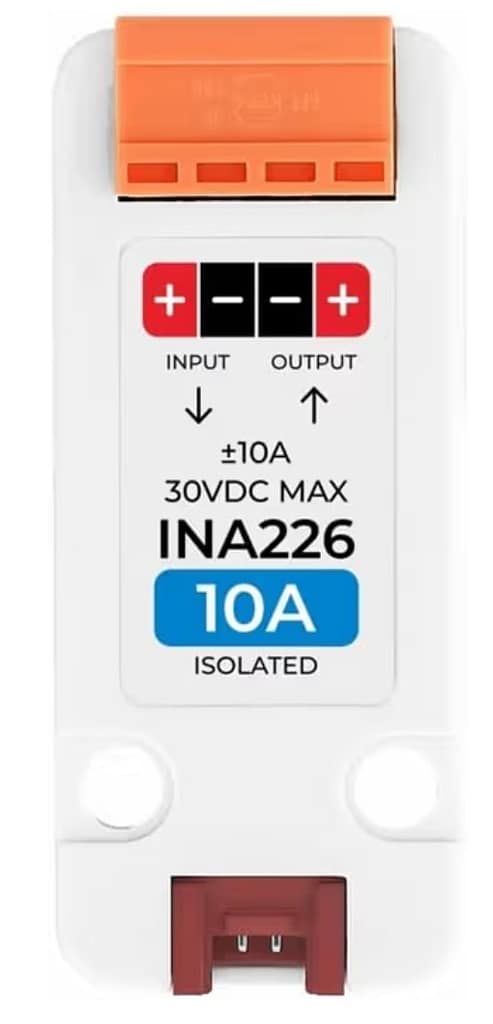
INA226-10A Current Voltage Power
Current and voltage measurement unit suitable for measuring DC 0-30V voltage and up to 10A
from Amazon
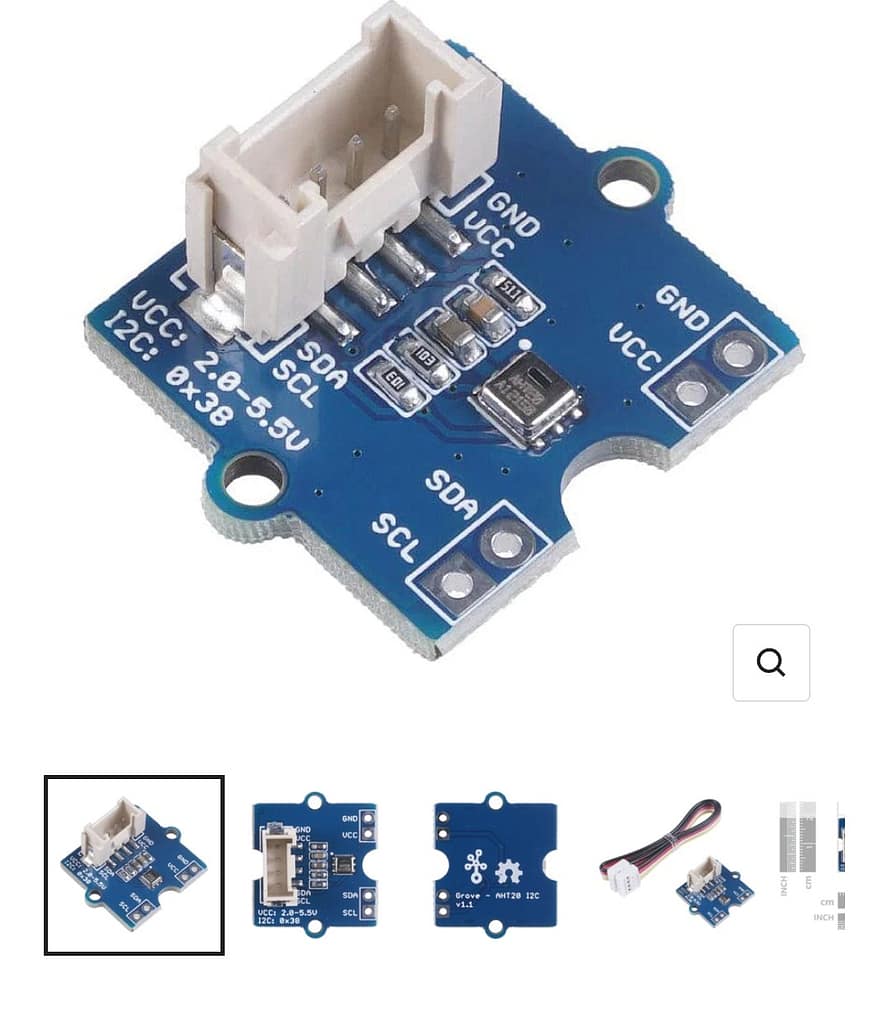
Grove – AHT20
From amazon
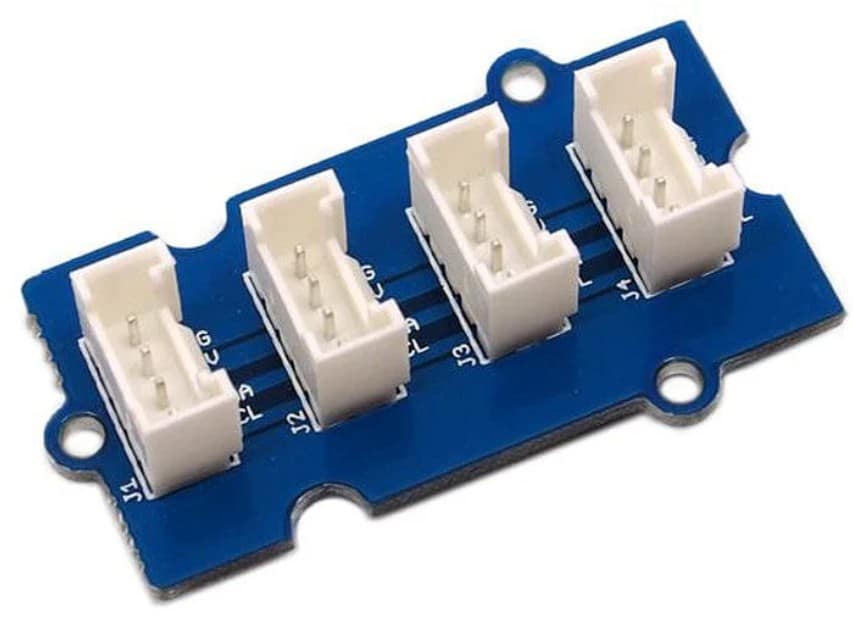
Grove – I2C Hub
From Amazon
- INA226 current/voltage sensor (for monitoring DC power usage)
- Grove AHT20 (temperature and humidity)
- Grove I2C Hub (to connect everything together)
This turns the Wio Tracker into more than just a communication node—it becomes a remote monitoring station. for a full list of currently Supported Sensor Types take a look at this list
Setup Experience
Getting started was surprisingly straightforward using the Meshtastic app.
- The SenseCAP connects via Bluetooth using the default PIN: 123456
- The Wio Tracker displays its Bluetooth PIN on screen
One important lesson: always attach the antenna before powering up the Wio Tracker. Skipping this can damage the device.
Once connected, the first key setting to configure is the region. For the UK, this should be set to EU in the LoRa settings.
Channels and Communication
By default, Meshtastic devices come with a public channel enabled.
This is actually really useful at first because:
- You can see other nearby nodes
- You can confirm your device is working
- You get a feel for the network range
For my setup, I decided to replace the default channel with a private one shared across all my devices. This means:
- Only my team can communicate
- Devices appear only within our network
- Everything stays private
That said, you can keep both public and private channels if you want a mix of openness and control.
Remotely managing over the mesh
I am going to be using one of the WIO trackers in a high location, with sensors added to monitor solar battery voltages. So I set this node up to be remotely managed over the mesh rather than a Bluetooth connection. This will hopefully save me having to access this node which will be placed in a harder to access area.
Remote access is easy to setup, you can also disable local access if required. But be careful you don’t lock yourself out like I did.
A Small Warning (Learn From My Mistake)
I configured my node to be remotely managed over the mesh, which is a great feature—but it comes with a risk.
On my first attempt, I managed to lock myself out completely and had to figure out how to factory reset the device. What you have to do is go to the flashing website and selected the ‘wipe’ option. Then upload the file to your device. After this you will have to start seeing up again.
Thankfully, it wasn’t too difficult, but it’s definitely something to be cautious with if you’re experimenting with remote access.
Final Thoughts
So far, Meshtastic has been a really interesting platform to explore. It sits somewhere between:
- hobby project
- practical tool
- and a genuinely useful off-grid communication system
What I like most is how flexible it is. You can start simple with messaging and tracking, then gradually build it into something much more powerful with sensors and automation.
Next steps for me will be:
- Expanding the number of nodes
- Testing range in different environments
- Building a fully enclosed, solar-powered monitoring unit
If you’re thinking about trying Meshtastic yourself, I’d say it’s well worth it—especially if you enjoy hands-on projects with real-world applications.
Some of the links Contained on this page are affiliate links. This means that if you click on one and make a purchase, I may earn a small commission — at no extra cost to you.


